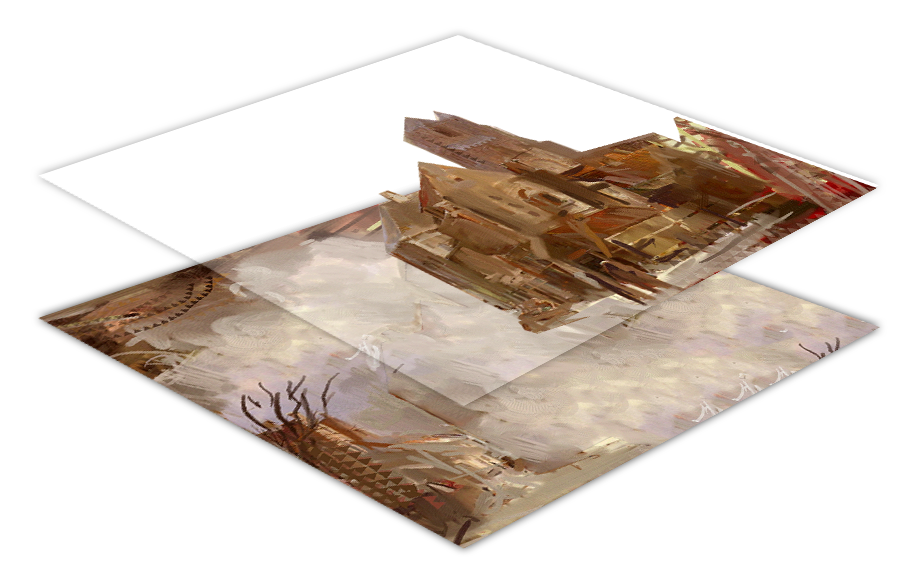
Keep your artwork separate and organized.
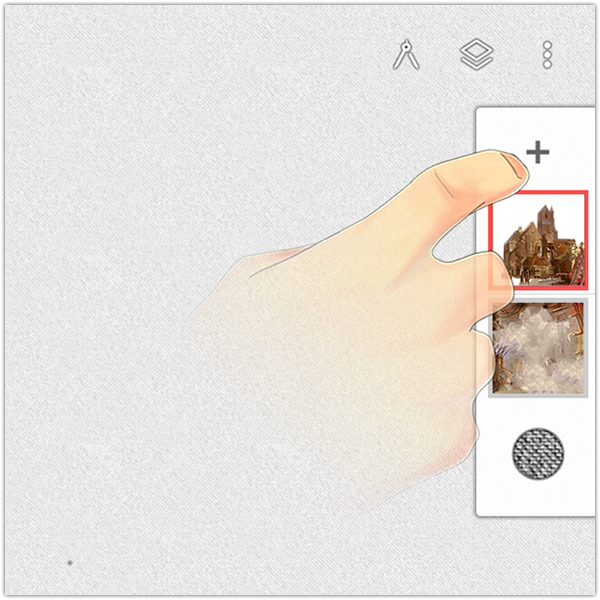
Press the + button at the top of the layer bar. This will add a blank layer above the current layer.
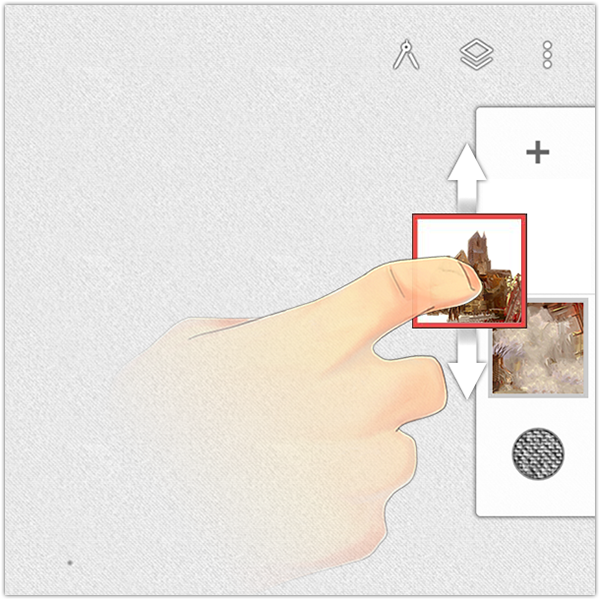
Long-press on a layer to move it up or down the layer stack.
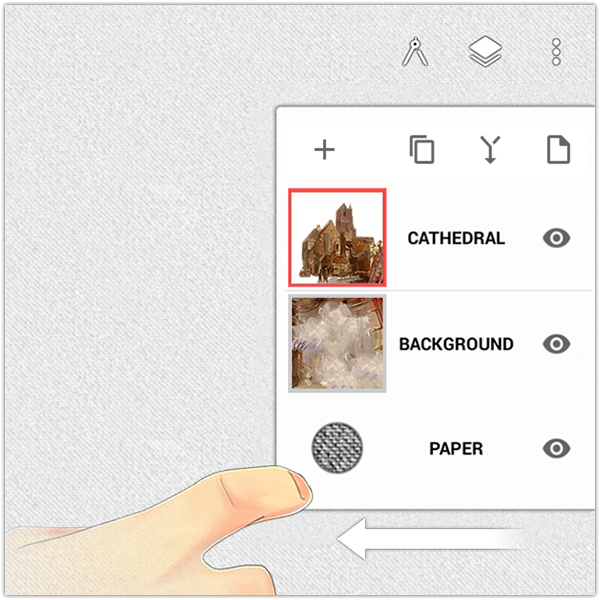
Drag the layer bar to the left to expand the layer panel. You can duplicate, merge, or clear the selected layer. You can also change visibility or edit layer names.
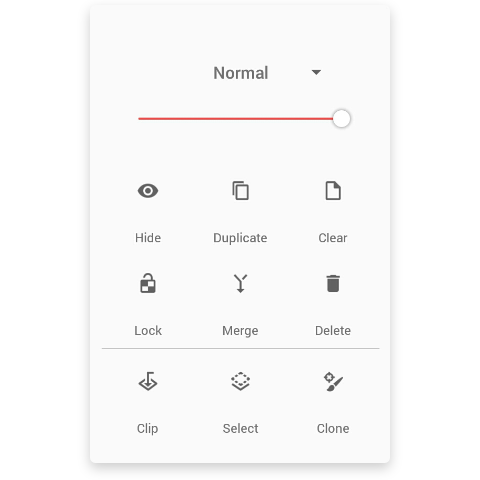
Open layer options by clicking on the selected layer.
Blend mode - See below.
Opacity - Adjust the layer’s transparency.
Hide / Show - Hide or show the layer.
Duplicate - Create a copy of the layer and add it to the layer stack.
Clear - Erase the content of the layer, but keep the layer in the layer stack.
Lock / Unlock - When lock is active, paint will respect the transparency of the layer.
Merge - Compress the selected layer with the layer below it.
Delete - Delete the layer content and remove it from the layer stack.
Clip (Clipping Mask) - Masks the selected layer with the layer below it.
Select - Creates a selection mask from the pixels of the layer.
Clone / Source - Sample colors from the layer. Useful for turning a photo into a painting. When using the Fill tool or Cloning, this option defines the Source layer.
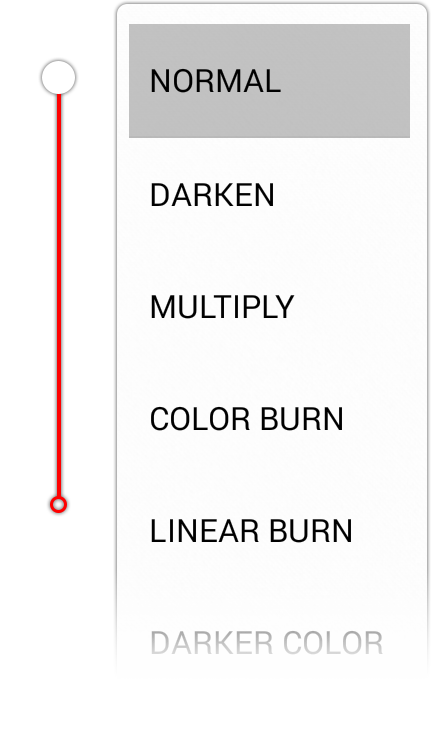
Click the text at the top of the layer options to change the blend mode. Blend modes determine how layers interact with layers below. Adjust the opacity with the slider on the left. For a more detailed explanation of how layer blend modes work, click here.
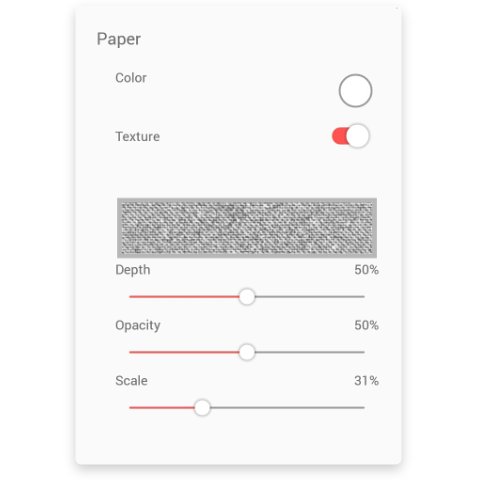
Click the circle at the bottom of the layers panel to change and manipulate the paper background.
Color - Change the background color.
Texture - Toggle texture on / off.
Texture preview - Click to change the paper texture.
Depth - Adjust how much the texture interacts with the brush.
Opacity - Change the transparency of the texture.
Scale - Change the size of the texture’s grain.
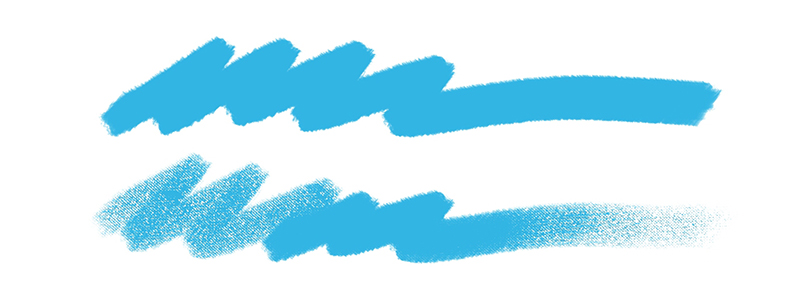
In the above example, the top stroke was painted on a plain white background while the bottom stroke was painted with a paper texture. Notice how the brush interacts with the canvas.